Creating a Simple MERN Fullstack Application
Creating a Simple MERN Fullstack Application

In this blog, we will see how we can quickly create a simple boilerplate web application with the following components.
- React JS Frontend
- Node.js/Express JS Backend
- MongoDB
Creating React JS Frontend App
We will use the create-react-app project [1] to get started quickly. Run the following command in your desired directory. Make sure you have npm installed on your machine.
npx create-react-app simple-react-appOpen the directory simple-react-app using your desired IDE. I will be using Jetbrains Webstorm in this tutorial. You should see a project with the following structure created after running the above command.
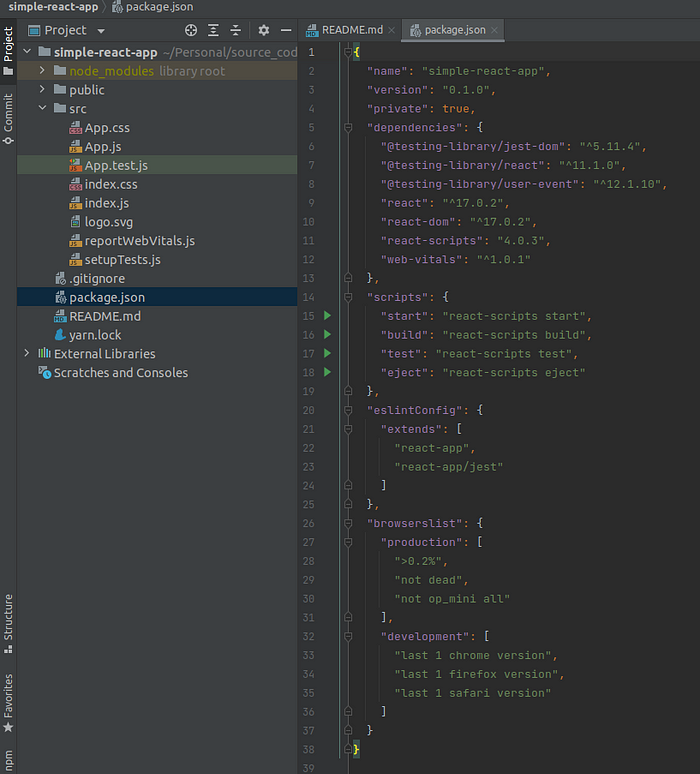
Run the following command inside the simple-react-app directory.
npm startYou should see the following output on your terminal.
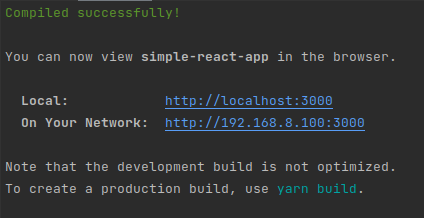
Visit http://localhost:3000/ on your desired browser. You will see the following page.
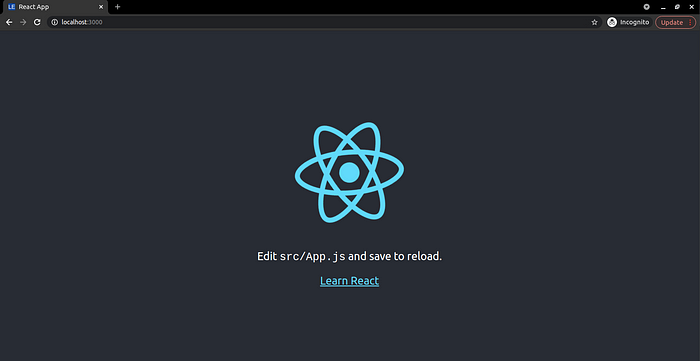
Now, open the src/App.js file and modify the code to be as follows,
import logo from './logo.svg';
import './App.css';

function App() {
  return (
      <div className="App">
        <header className="App-header">
          <button onClick={callApi}>Call API</button>
        </header>
      </div>
  );
}

function callApi() {
    fetch('http://localhost:3001/details', { method: 'GET' })
        .then(data => data.json())
        .then(json => alert(JSON.stringify(json)))
}

export default App;
After saving the App.js file, the browser will render the following page
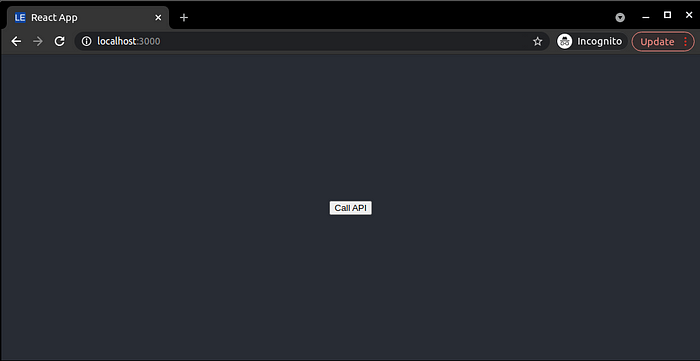
You can find the complete code for simple-react-app at https://github.com/niruhan/simple-react-app
Creating Node.js Backend with Express JS Server
Create a directory with the name simple-node-server and run the following command inside the directory to initialize a node project.
npm initThis will prompt multiple command-line questions to generate a package.json file. Just press enter to all the questions to use the default values. You will see the following output in the terminal.
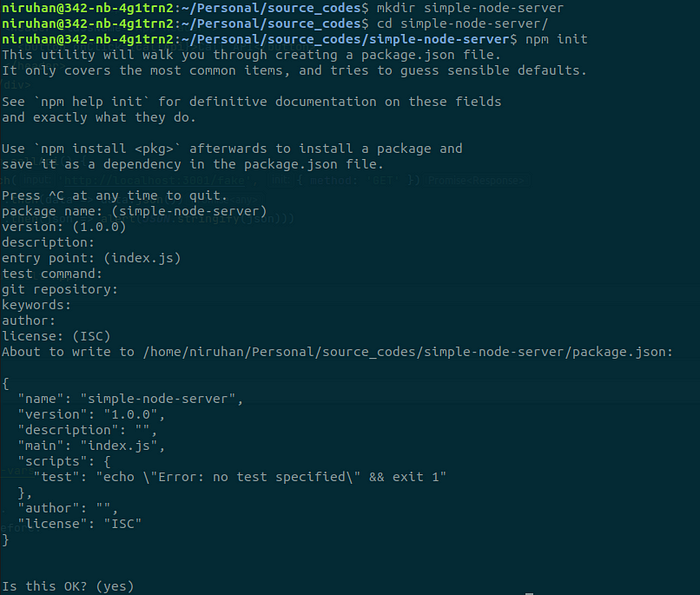
Open the simple-node-server directory in an IDE of your choice. We will now install Express JS server by running the following command.
npm install --save expressWe also need to install the following libraries.
npm install --save body-parser
npm install --save cors
Then, create a file named index.js inside the simple-node-server directory and add the following code.
const express = require('express');
const bodyParser = require('body-parser');
const cors = require('cors');

const app = express();
const port = 3001;

app.use(cors());

// Configuring body parser middleware
app.use(bodyParser.urlencoded({ extended: false }));
app.use(bodyParser.json());

app.get('/details', (req, res) => {
    res.send({data: 'Hello World, from express'});
});

app.listen(port, () => console.log(`Hello world app listening on port ${port}!`))
Add a start script to the package.json file as follows so that we can run npm start command.
{
  "name": "simple-node-server",
  "version": "1.0.0",
  "description": "",
  "main": "index.js",
  "scripts": {
    "test": "echo \"Error: no test specified\" && exit 1",
    "start": "node index.js"
  },
  "author": "",
  "license": "ISC",
  "dependencies": {
    "body-parser": "^1.19.0",
    "cors": "^2.8.5",
    "express": "^4.17.1"
  }
}
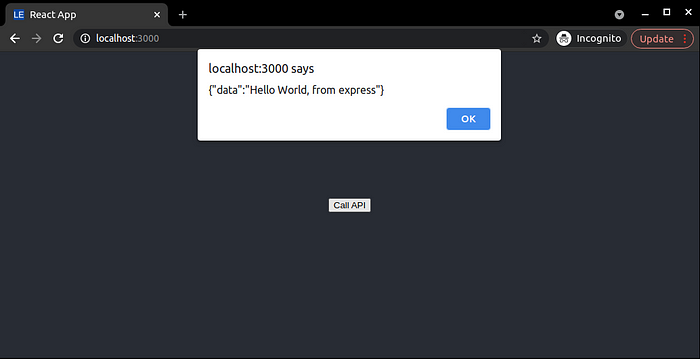
Save everything and run npm start from the simple-node-server directory. The node server will start and listen on port 3001 for HTTP requests. We will start the React frontend app as well and navigate to http://localhost:3000/ on a browser. Click on the Call API button. You will see the following alert pop-up message. Now we have a frontend web app and a backend server that can communicate with each other!
Creating MongoDB Database and Connecting to Backend
The easiest way to get started with MongoDB is to use MongoDB Atlas. It is a cloud-hosted that offers a generous free tier for small-scale projects. You don’t need to install MongoDB locally and set up the database. Everything will be done for you on the cloud and you will just have to get the database URL and user credentials to connect from a server. You can setup a MongoDB connection by following the steps below.
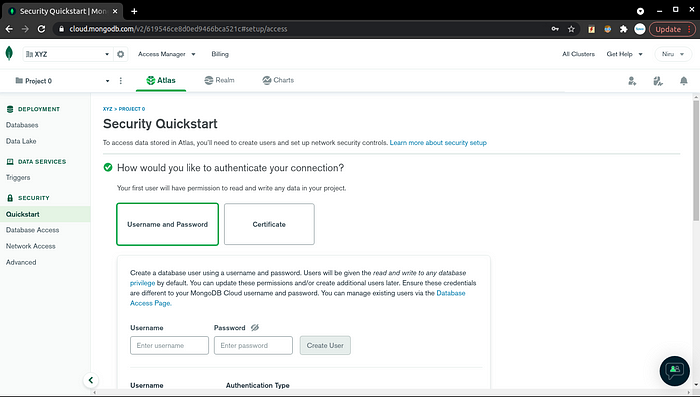
Step 1 — Navigate to https://account.mongodb.com/account/login on a browser. Create an account and sign in. Create a free tier shared cluster. You will see a page as follows,
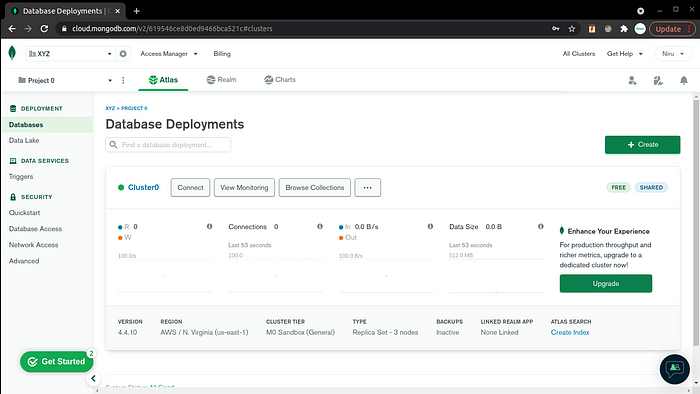
Step 2 — Create a DB user by entering username and password. I will create a user with username mongouser . Enter 0.0.0.0 in the ip address section and click finish. You will land on a page that shows your cluster as follows,
Step 3 — Click connect and select Connect Your Application option. You will see a connection URL as follows. You need to replace <password> with the DB user password that you have set before.
mongodb+srv://mongouser:<password>@cluster0.c4yrp.mongodb.net/myFirstDatabase?retryWrites=true&w=majorityLet’s create a collection named users as follows,

Next, let’s insert a document into the User collection.
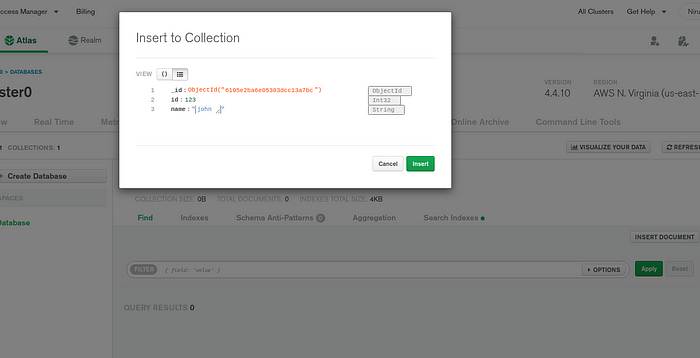
Now our cloud DB instance is ready! Let’s add the DB connection capability to our Node JS server.
Run the following command in the simple-node-server directory to install Mongoose library. This library will help up connect to MongoDB from Node server.
npm install mongoose --saveWe will modify the index.js as follows to connect to MongoDB.
const express = require('express');
const bodyParser = require('body-parser');
const cors = require('cors');
const mongoose = require("mongoose");
const userModel = require("./models");

const app = express();
const port = 3001;

app.use(cors());

mongoose.connect('mongodb+srv://mongouser:<password>@cluster0.c4yrp.mongodb.net/myFirstDatabase?retryWrites=true&w=majority',
    {
        useNewUrlParser: true,
        useUnifiedTopology: true
    }
);

const db = mongoose.connection;
db.on("error", console.error.bind(console, "connection error: "));
db.once("open", function () {
    console.log("Connected successfully");
});

// Configuring body parser middleware
app.use(bodyParser.urlencoded({ extended: false }));
app.use(bodyParser.json());

app.get('/details', async (req, res) => {
    // const user = await userModel.findOne({id: 123});
    const user = await userModel.find({});
    res.send(user);
});

app.listen(port, () => console.log(`Hello world app listening on port ${port}!`))
In addition, we need to create a database schema for our User model. Let’s create a JavaScript file named models.js in the simple-node-server directory and add the following code in that file.
const mongoose = require("mongoose");

const UserSchema = new mongoose.Schema({
    id: {
        type: Number,
        required: true,
    },
    name: {
        type: String,
        required: true,
    },
});

const User = mongoose.model("User", UserSchema);

module.exports = User;
Now save everything and restart the node server. Navigate to the frontend webpage on your browser and click on the CallAPI button. You should see an output as below.
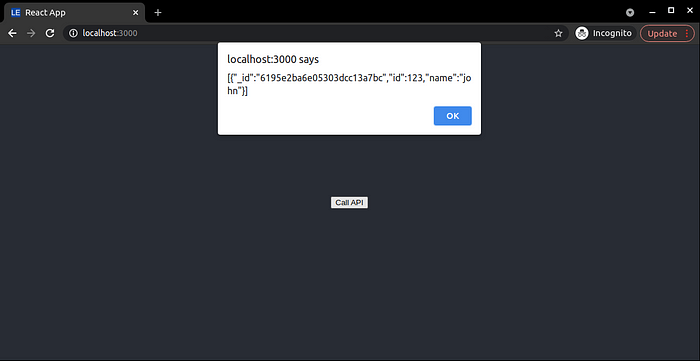
Voilà ! You have a full stack MERN application where frontend, backend and database all communicate with each other!
You can find the code for simple-node-server at https://github.com/niruhan/simple-node-server
References
[1] https://reactjs.org/docs/create-a-new-react-app.html
[2] https://mocki.io/call-a-rest-api-in-react
[3] https://stackabuse.com/building-a-rest-api-with-node-and-express/
[4] https://www.section.io/engineering-education/nodejs-mongoosejs-mongodb/
Comments
Post a Comment